What to Know About the Properties and Processing of OSB Boards Before Buying
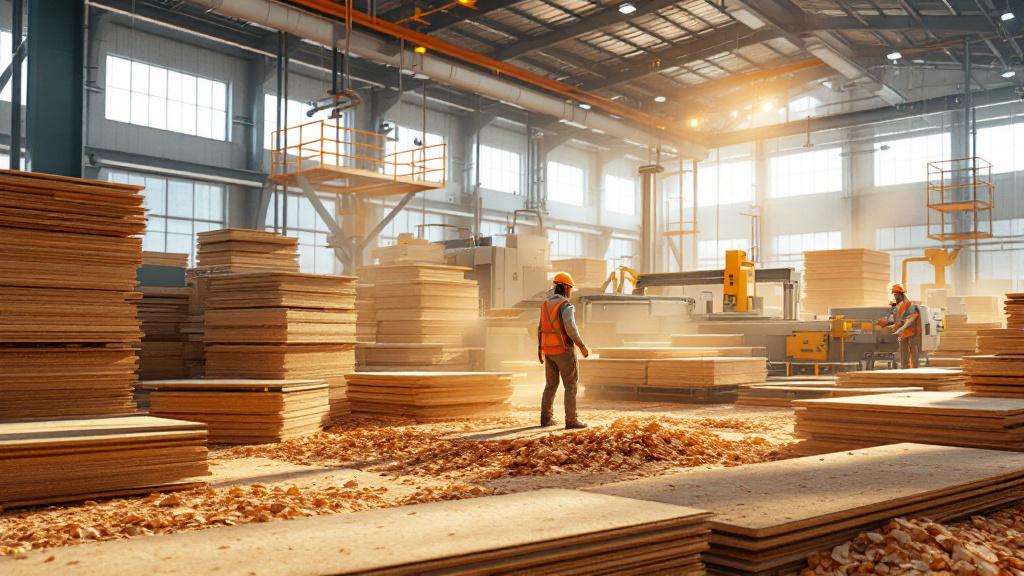
If you have ever dealt with building a house, finishing a room, or making wooden furniture, you have most likely heard of OSB boards. It is a popular material in woodworking with a huge range of uses — from subfloors to wall sheathing and furniture making. But before you rush to the shop or place an order, it is worth understanding what OSB actually is, what its features, pros, and cons are, how to work with it, and what you absolutely must pay attention to when buying. Let’s break it down in plain language, without complicated jargon, and from the practical standpoint of woodworking and the manufacture of wooden products.
What an OSB board is
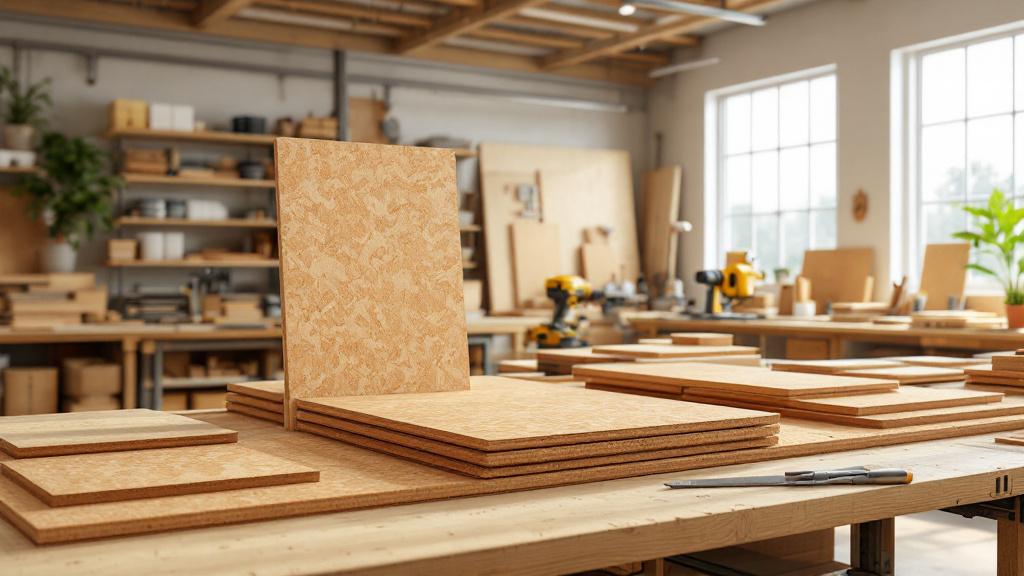
OSB (oriented strand board) is a wood-based panel material made by pressing large strands (chips) together with adhesive resins. The key difference between OSB and ordinary particleboard or plywood is that the strands in the layers of OSB are laid in a specific direction — lengthwise and crosswise. This is what gives the board its strength, resistance to deformation, and improved performance characteristics.
OSB board looks rough: large wood strands are bonded together so that their structure is clearly visible. But it is precisely this “roughness” that makes OSB a strong and reliable base for a wide variety of tasks. In woodworking, this material is especially valued for its resistance to loads, relative moisture resistance (particularly in boards marked OSB-3 and OSB-4), and its broad range of applications.
Composition and structure
On average, an OSB board consists of about 90–95% wood (mainly softwood species), while the remaining 5–10% is binders — resins and waxes. Manufacturing technologies differ between producers, but overall the basis is the same for everyone:
- Strands (chips) up to 15 cm long, 1–2 cm wide, and about 1 mm thick.
- Adhesive — most often phenol- or polyurethane-based resins.
- Wax or paraffin, added to increase moisture resistance.
The structure of OSB includes several layers (usually three or four) in which the strands are oriented in different directions. The outer layers run along the long side of the board, the inner ones run crosswise. This is not just an elegant engineering trick but a specific technological solution to increase strength and minimize warping in service.
Types of OSB boards: how they differ
There are several classes of OSB, and to make the right choice you must understand the difference:
- OSB-1 — used exclusively in dry rooms and under light loads. It is hardly ever used in woodworking or furniture making, since it is not strong or moisture-resistant enough.
- OSB-2 — suitable for structures that will not be exposed to moisture. It can be used for temporary partitions and packaging, but it is better not to risk it with furniture and interior finishing.
- OSB-3 — the most popular option for construction and woodworking needs. It combines strength and moisture resistance and is suitable for both exterior and interior work.
- OSB-4 — the strongest and most moisture-resistant board. Used for load-bearing structures, floors, and frame construction.
For making products, furniture, and interior finishing, OSB-3 is most often used, and OSB-4 less often (in cases where high strength is required). OSB-1 and OSB-2 are rare in our field and are essentially considered auxiliary materials.
Pros and cons of OSB in woodworking
Before working with OSB, it is worth understanding its advantages and which features you should keep in mind.
Advantages:
- Strength and stability
OSB boards hold their shape well and do not warp under normal operating conditions. Even with fluctuations in temperature and humidity, they behave more stably than ordinary particleboard or plywood. - Ease of processing
It can be cut with standard woodworking tools: a circular saw, jigsaw, or router. It is easy to sand, drill, and even cut into shapes. - Wide range of applications
It is used in construction, furniture manufacturing, and interior finishing. OSB is used to make floors, walls, partitions, furniture frames, shelving, and even decorative elements. - Cost-effectiveness
With parameters similar to plywood, OSB boards are cheaper. This is especially important for large volumes of work. - Eco-friendliness (within reason)
Modern manufacturers use safe resins with low formaldehyde emission. OSB can be used in living spaces — provided you choose a board with the appropriate marking (E0, E1).
Disadvantages:
- Not the most perfect surface
Not everyone likes the structure of OSB — it is rough and uneven. For decorative finishing, the board often has to be filled, sanded, and coated with varnish or paint. - Do not soak it without limit
Despite the moisture resistance of OSB-3 and OSB-4, it is not waterproof concrete. If the board stays in a damp environment for a long time, especially with untreated edges, it will start to swell, delaminate, and lose strength. - Fastening specifics
Screws and nails are best driven no closer than 15 mm from the edge — otherwise you can get chips or cracks. - Adhesive and emission
Although many OSB boards meet European formaldehyde standards, it is still not a 100% natural material. For indoor use it is better to choose boards marked E0 or E1.
How to prepare OSB for work
Once the OSB has been delivered to your warehouse or workshop and you are getting ready to work with it, it is important to prepare it properly. Here are a few points that are often forgotten:
1. Acclimatizing to the room
OSB is a wood material, even if it is pressed. It absorbs moisture from the air and can change dimensions. So before cutting or installing, the boards should be left in the room for 1–2 days so they can “get used to” the temperature and humidity. This is especially important in winter or summer when there are sharp fluctuations.
2. Proper storage
OSB boards should be stored in a dry, ventilated room. It is best to keep them horizontal on supports so they do not deform. Do not stand them vertically or stack them on damp ground or concrete — moisture from below will rise into the board and damage its structure.
3. Edge treatment
The edges of OSB are its most vulnerable spot. When moisture gets in, they start to swell quickly. Before starting work, it is advisable to treat them with special sealants, primers, or at least acrylic paint.
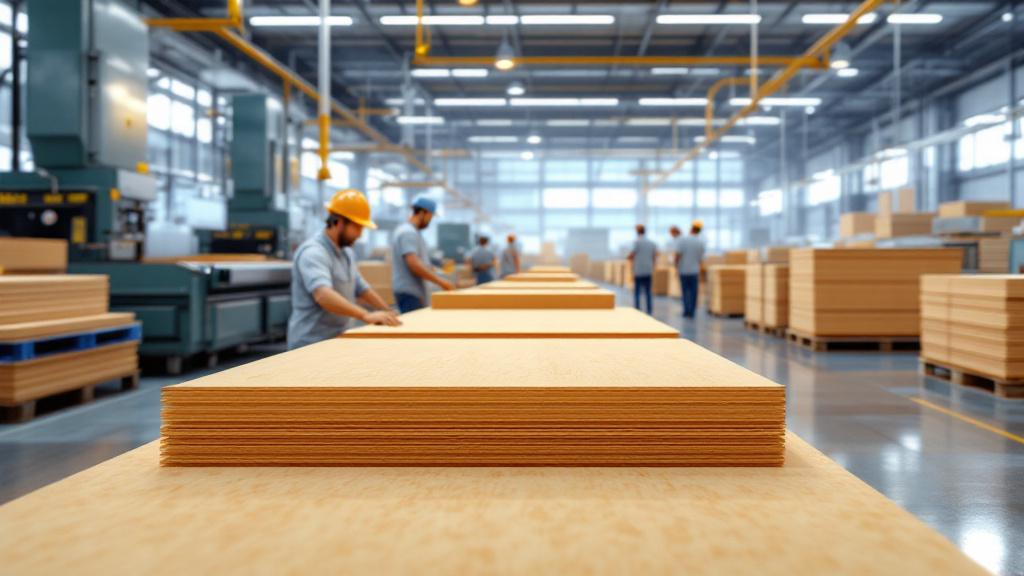
Processing specifics for OSB boards: from cutting to painting
OSB is a material with character. It is convenient to work with, but it has its subtleties. If you follow a few simple rules, you can avoid typical mistakes and achieve an excellent result in products and construction solutions.
Cutting
OSB is fairly easy to cut — its structure responds well to most hand and power tools. But to get a neat, even cut, you should keep the following in mind:
- Tool. It is best to use a circular saw with a fine tooth (for example, 60 teeth for a 190 mm blade). A jigsaw can also be used, but it is suited to shaped cuts and small areas.
- Marking. Before cutting the board, make an accurate layout. It is advisable to use a square and a builder’s pencil so the lines are clear and do not drift to the side.
- Supporting the board. OSB can easily chip at the edges when cut, especially if the board is not supported from below. Use a workbench or two wooden guides.
- Cutting speed. It is better to cut slowly, especially where the saw exits, to avoid chipping on the top and bottom surfaces.
Sanding
If you plan to use the board for visible surfaces, for example in furniture or decorative finishing, sanding is a must:
- What to sand with? A random-orbital or belt sander will do. As a last resort, an ordinary sanding block with sandpaper.
- Abrasive. Start with grit 80 or 100, then move to 120 or 150 — this is enough to prepare for painting or varnishing.
- Surface features. OSB has an uneven texture, so it will never become perfectly smooth. But you can achieve a quite pleasant surface to the touch if you sand in two passes and use a vacuum to remove dust between stages.
Painting and finishing
OSB board has a fairly pronounced texture to begin with — this can be either an advantage or a disadvantage. It all depends on the task.
- Primer. A must before painting. It is best to use a universal acrylic primer. It reduces paint absorption and ensures an even color.
- Paint. You can use acrylic, alkyd, oil, and even enamel paints. For interior work, water-based paints are preferable. For exterior work, paints with increased moisture resistance.
- Varnish. If you want to preserve the texture of OSB while protecting the board, it is best to use a matte or semi-matte varnish. A water-based polyurethane furniture varnish is a good fit.
- Filler. If the goal is to make the surface as smooth as possible (for example, for wallpapering or laminating), the surface is first filled, sanded, and only then painted.
Fastening and installation
As with any sheet material, it is important to organize the fastening of OSB correctly. Especially if the board is used as part of a load-bearing structure or a cabinet product.
- Screws. It is recommended to use coarse-thread wood screws. Length — from 35 mm. Important: do not drive them too close to the edge — this can cause chipping.
- Nails. Ordinary nails will do for temporary structures, but for stronger fastening it is better to use screw or annular-ring nails.
- Adhesive. For gluing OSB to itself or to other materials, use PVA, polyurethane adhesives, or joiner’s glue. It is advisable to sand and dedust the surface first.
- Stapler. If the board is used as an underlay (for example, under laminate or cladding), it can be fastened to the base with a construction stapler — quick and convenient.

How to choose OSB for a specific task
OSB board is a versatile material, but each task has its own approach. Below we will look at the most common scenarios.
1. For making furniture
Here it is important to consider aesthetics and safety:
- It is better to use OSB-3 or OSB-4 with low formaldehyde emission (E0, E1).
- Pay attention to thickness — 12–18 mm is optimal.
- Surfaces should be sanded.
- If necessary, the boards are veneered, painted, or laminated.
2. For finishing walls and ceilings
An excellent option for interiors in a “loft” or “eco” style:
- Use OSB-3 with priming and painting beforehand.
- When installing, be sure to leave gaps between the boards (3–5 mm) to allow for thermal expansion.
- For ceilings, boards 9–12 mm thick are enough; for walls, 12–15 mm.
3. For a subfloor or laminate underlay
Here strength and moisture resistance come first:
- OSB-3 or OSB-4 is recommended.
- Thickness — at least 15 mm, and 18 mm is better.
- Installation on joists — with a spacing of 40–60 cm.
- Fastening — with screws + adhesive (if you need to silence squeaks).
4. For outdoor work and temporary structures
- Only moisture-resistant boards — OSB-3 and OSB-4.
- Be sure to treat the edges and joints with sealant or varnish.
- Do not forget about ventilation gaps and protection from precipitation.
Typical mistakes when working with OSB
Even experienced craftsmen sometimes slip up. Here is a list of common mistakes that are best avoided:
- Did not acclimatize the board to the room. The result — swelling, cracks, deformation.
- Stored it improperly. Damp boards are the main cause of spoiled material.
- Forgot to treat the edges. This is critical in humid conditions.
- Screws too short. The board holds poorly, and over time play develops.
- Painting without primer. OSB’s absorbency is very high — the paint goes on unevenly and twice as much is used up.
- Ignoring ventilation gaps. Especially dangerous when used over large areas — deformation is guaranteed.
Conclusion: is OSB worth choosing?
OSB is not just a “chip board.” It is a full-fledged, strong material that is easy to process and perfectly suited for making a multitude of products and structures. If you approach the selection, storage, and processing correctly, you will get an excellent result and save time and money.
For woodworking workshops and furniture manufacturers, OSB opens up a wealth of possibilities: from economical blanks to striking interior solutions. The main thing is not to forget the technology and to treat the material with respect, just like any other element of true joinery craft.