The best techniques for high-quality hand and machine sanding of wood products and wood-based materials

Today we are going to talk about a process that turns an ordinary wooden blank into a genuine work of art. We are talking about sanding. Many people wrongly consider this stage secondary, a kind of rough work. Yet it is precisely the quality of the sanding that determines up to 90% of the final look of a product, the evenness with which lacquer or oil is applied, the tactile feel and, ultimately, its durability. Improper or careless sanding can ruin even the most expensive and beautiful material.
In this article we will examine, in detail but without unnecessary filler, all the key aspects of hand and machine sanding. We will share the professional secrets and techniques we use in our daily work when making furniture, interior elements and other wooden products. This information will be useful both to those who want a deeper understanding of woodworking processes and to those who order products from us and want to be confident in the highest quality of the final product.
Why is sanding needed at all? The very basics
At first glance the answer is obvious: to make the surface smooth. But that is only the tip of the iceberg. Professional sanding is a multi-purpose technological process that solves several fundamental tasks at once. Without a proper understanding of these tasks, it is impossible to appreciate the importance of this stage and to achieve the desired result. Let us look at what exactly happens to the wood during sanding and what goals we pursue.
The first and most obvious task is removing the defects of primary processing. After sawing, jointing or thicknessing, marks left by the cutting tool inevitably remain on the surface of the wood: scratches from the saw blade, “waves” from the knives, tear-out and even small chips. These defects may not be very noticeable on an unfinished board, but they instantly show through under a coat of stain or lacquer, creating a sloppy, cheap look. Sanding, starting with coarse-grit abrasives, allows you to remove the thinnest top layer of the material, levelling out these imperfections and creating a single plane.
The second crucial goal is creating the right “base” for the finish coating. The surface of wood, even perfectly planed, has a closed pore structure. Lacquers, oils and stains simply cannot soak in evenly or bond with such a surface. The result will be blotchiness, uneven sheen and weak bonding (adhesion), which in the future leads to the coating peeling off. Sanding “loosens” the top fibres of the wood, opening the pores. This lets the finish penetrate deeply and evenly into the structure of the material, providing rich colour, durable protection and a beautiful appearance.
The third task is calibration and final levelling. Even after quality work on machines, microscopic differences in height may remain, for example where several lamellas are glued into a furniture panel. Hand or machine sanding brings the surface to perfect flatness, which is critically important for products such as countertops, furniture fronts or doors. To the touch, such a surface will feel monolithic and whole, without the slightest step.
The fourth, but no less important, function is aesthetic. Sanding lets you emphasise the natural beauty of the wood grain. A properly finished surface plays with light in a special way, revealing the depth of the pattern of the growth rings. In addition, sanding removes all sharp edges and burrs, making the product safe and pleasant to the touch. This is exactly the aspect that distinguishes amateur work from a professional product. Ultimately, it is the quality of the sanding that determines the tactile pleasure of touching the finished item.
Thus, sanding is not just clean-up but a fundamental preparation stage that directly affects the appearance, performance and durability of any wooden product. Neglecting this process is like building a beautiful house on a poor foundation: the result will be short-lived and disappointing.
Choosing the abrasive: grit and materials
The key to successful sanding lies in choosing the right abrasive material. Using an unsuitable grit or type of abrasive can cause deep scratches that will be impossible to remove, or, on the contrary, waste time with no visible result. The whole secret is in the sequence and in understanding how each type of sandpaper works.
The main parameter of any abrasive is its grit. It is denoted by the letter “P” and a number (for example, P80, P120, P240). The smaller the number, the coarser the abrasive grain and the more aggressively the sandpaper works. The larger the number, the finer the grain and the more delicate the processing. Professional woodworking uses the standardised FEPA scale. It is important to understand that you cannot simply take the finest abrasive and try to level a rough surface with it. You will spend hours, overheat the wood and “burnish” the surface, but you will not remove the defects.
The sanding process is always built on the principle of a step-by-step reduction of grit. Each subsequent, finer abrasive removes the scratches left by the previous, coarser one. Steps must not be skipped. If you go straight from P80 to P240, you will merely polish the tops of the P80 scratches without removing their depth. Under lacquer these deep marks will show up as a “cobweb”. The standard step between grits should not exceed 40-60 units at the beginning (P80 -> P120) and can be smaller at the finishing stages (P180 -> P220).
Besides grit, the material of the abrasive grain:
- Aluminium oxide (electrocorundum). The most common and versatile material for working with wood. It is quite hard, durable and has the property of self-sharpening during work (as it crumbles, the grains form new sharp edges). It is ideal for all sanding stages on most wood species.
- Silicon carbide. Harder and sharper than aluminium oxide. However, it is also more brittle. It is most often used for “wet” sanding between coats of lacquer, as well as for working with very hard materials or removing old coatings. For primary sanding of wood it can be too aggressive.
- Ceramic abrasive. Very hard and wear-resistant. It is used mainly on sanding belts for aggressive stock removal (calibration, levelling). In hand sanding it is less common because of its high cost.
Equally important is the backingon which the abrasive is applied. A paper backing is cheaper but less durable and is suitable for hand and orbital sanding. A cloth backing is much stronger and more flexible; it is indispensable for sanding belts and for working on curved surfaces, where paper would quickly tear. There are also film-based or foam-based backings for delicate finishing work.
And the last nuance is the type of coating. An open coat means the abrasive grains cover 50-70% of the backing. The gaps between them prevent the sandpaper from quickly clogging (loading) with sanding debris, which is especially important when working with soft and resinous species of wood (pine, spruce). A closed coat (grains cover almost 100% of the backing) works more aggressively and gives a smoother surface, but clogs faster. It is best used for hardwoods (oak, ash, beech).

Hand sanding: when the machine is powerless
Despite the huge arsenal of power tools, hand sanding remains an indispensable stage in professional woodworking. There are tasks where a machine can do harm or is simply unable to provide the necessary control and delicacy. It is precisely the attention to detail achieved by hand that distinguishes a high-class product. A craftsman’s hands feel the material far more subtly than any sander, however modern.
The main advantage of hand sanding is full control. You control the pressure, the direction of movement and the angle of work. This is critically important when working with complex profiles, carved elements, internal corners and small details. Trying to get into such places with an orbital sander will almost certainly “burnish” the sharp edges, change the geometry of the profile and damage adjacent surfaces. By hand, however, you can carefully work every millimetre while preserving the original intent of the shape.
For effective hand sanding you should never work simply holding a sheet of sandpaper in your palm. The fingers apply different pressure, which will inevitably create “hollows” and irregularities on a flat surface. You must use sanding blocks or pads. The simplest option is to wrap sandpaper around a flat wooden block. For convenience there are special sanding blocks with clamps, as well as profile pads made of flexible materials that conform to concave or convex surfaces.
The basic rule of hand sanding is moving strictly along the grain of the wood. Sanding across the grain leaves deep scratches that are practically impossible to remove later. They may be invisible on bare wood, but after applying stain or oil they turn into ugly dark streaks. The movements should be even, with the same pressure, over the full length of the part, to avoid local depressions.
Hand sanding is indispensable at the finishing stages of preparation. After working even with the best random-orbit sander using P180 or P220 grit, a light hand finishing pass with the same grit removes the tiniest “swirl marks” (microscopic circular scratches from the machine) and finally evens out the surface texture. This final pass, made with minimal pressure along the grain, gives the surface a silky smoothness and guarantees a perfect application of the coating.
Hand work is also necessary for the intermediate sanding of lacquer coatings. After the first coat of lacquer dries, wood fibres rise on the surface, making it rough. This raised grain must be carefully knocked down. This is done by hand, using abrasives on a soft backing (sanding sponges) or very fine-grit sandpaper (P320-P600), with minimal pressure. Using a machine at this stage will almost certainly wear the thin layer of lacquer down to the wood, especially on corners and edges.
So hand sanding is not a relic of the past but an important tool in the professional’s arsenal. It is needed wherever jeweller’s precision, delicacy and full control over the process are required. It is the hand finishing that gives a product its complete, truly high-quality and “expensive” look.
Getting to know the arsenal: the main types of sanding machines
For working large surfaces and for the primary, most labour-intensive stage of sanding, power tools are indispensable. They save an enormous amount of time and effort, allowing you to achieve a result that is unattainable by hand within a reasonable time. However, it is important to understand that each sander is designed for its own tasks, and using the wrong tool can ruin the workpiece.
Let us look at the three main types of sanding machines that form the backbone of any woodworking workshop.
- Belt sander This is the most powerful and aggressive tool in the sanding arsenal. Its working element is an abrasive belt glued into a loop and running at high speed over two rollers. The belt sander is intended for rough work: quickly removing a large volume of material, levelling very rough or uneven surfaces (for example, boards after sawing), stripping old paint or lacquer. The belt moves strictly in a straight line, so it must be used exclusively along the grain, otherwise it will leave the deepest scratches. The belt sander is the “heavy artillery”, requiring skill and a steady hand. One wrong move, dwelling in one spot, and a deep hollow appears in the workpiece. For fine, delicate sanding this tool is categorically unsuitable.
- Orbital (flat-bed) sander This tool works on a different principle. A rectangular or triangular pad makes rapid oscillating movements with a very small amplitude. The orbital sander is much gentler than the belt sander and is used for intermediate and finishing sanding of flat surfaces. Thanks to the rectangular shape of the pad, it is well suited to working corners. However, classic orbital sanders have a drawback: because of their uniform oscillating movements, they can leave small repeating scratches (“swirl marks”) on the surface, which will be visible at a certain lighting angle after lacquering. That is why, to achieve the best quality, they are often used at intermediate stages, before the final finishing.
- Random-orbit sander This is the most versatile and perhaps the most important sanding tool for achieving a high-quality surface. Its round pad performs two movements at once: it rotates about its axis and simultaneously oscillates in an orbit (eccentricity). This complex, random motion ensures that every abrasive grain is constantly moving along a new path. As a result, no noticeable repeating scratches are left on the surface. The random-orbit sander combines enough performance for stock removal with the delicacy needed for finishing work. It is ideal for sanding large flat and even slightly curved surfaces, such as countertops, furniture panels and fronts. It is precisely the random-orbit sander that allows a surface to be prepared for the most demanding coatings, for example glossy lacquer or tinting oil.
The choice of a specific tool is dictated by the task. For rough levelling of an old windowsill we will take a belt sander. For sanding a new oak countertop, our choice is successive work with a random-orbit sander, progressing through the grits. And for careful finishing of an internal corner in a furniture drawer, an orbital sander with a triangular pad or hand work is better suited. The professional approach lies in skilfully combining these tools to achieve the optimal result at each stage.
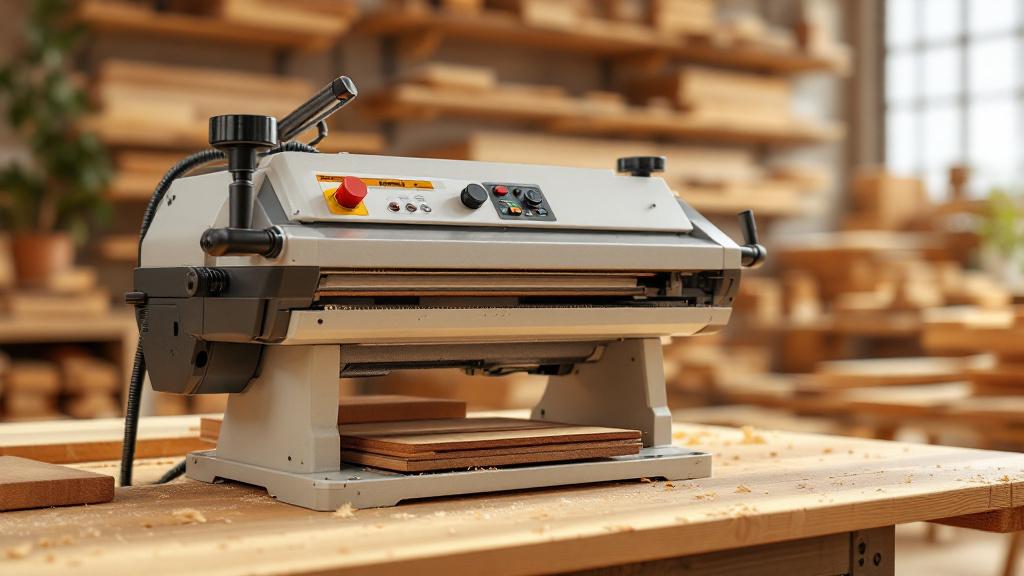
Technique for working flat surfaces: achieving perfect smoothness
Working large flat surfaces such as countertops, doors or panels is one of the most common tasks in woodworking. It is precisely on these surfaces that any sanding defects – scratches, “swirl marks”, unevenness – are seen best. Achieving perfect smoothness requires not only the right tool (most often a random-orbit sander) but also strict adherence to the technology.
The first and main principle is sequence and patience. As we have already said, you must not skip grits. A typical sequence for a new, well-prepared hardwood blank (for example, oak) might look like this: P100 -> P150 -> P180 -> P220. For softer species, or if the surface is already fairly even, you can start at P120. But if significant defects need to be removed, the start can be at P80. Before moving on to the next, finer grit, it is absolutely essential to completely remove the marks from the previous, coarser one.
To control this process there is a simple but very effective professional trick. Before starting work with each new grit, light control marks are made on the surface with an ordinary soft pencil. Sanding with the current grit continues until all the pencil marks have completely disappeared. This is a hundred-percent guarantee that you have worked the whole surface evenly and are ready for the next step.
The second important aspect is the movement technique. The sander must be guided smoothly, without jerks, at a speed of about 2-4 cm per second. The movements should be even and overlapping. Imagine you are painting a wall with a roller: each successive pass should overlap the previous one by about a third or half of the pad width. This ensures even processing without misses and “stripes”. Do not move the sander chaotically or in circles; it is better to keep to systematic passes along and then across the workpiece.
The third rule is correct pressure. Here the principle “less is more” applies. Modern sanders are designed to work effectively under their own weight. Excessive pressure on the tool does not speed up the process but leads to negative consequences. First, you risk “digging into” the material and making hollows. Second, the motor starts to work under overload. Third, excessive friction overheats both the pad and the wood, which leads to rapid loading of the abrasive and resin burn marks on the wood. Simply place your hand on the sander and guide it without applying force.
Before the final sanding with the finest grit (for example, P220), professionals often carry out the procedure of raising the grain. To do this, the surface is lightly moistened with water from a spray bottle. The water causes the wood fibres, compressed and flattened during sanding, to straighten and rise. After it dries completely, the surface will feel rough to the touch. Now, making a final pass with the finest abrasive, you do not merely smooth this raised grain but cut it off. This ensures that after a water-based finish (lacquer, stain) is applied, the surface will stay perfectly smooth.
And, of course, do not forget about intermediate cleaning. After each pass with a given grit, you must thoroughly remove all dust from the surface. A shop vacuum is best suited for this. Leftover coarse particles of abrasive or wood dust can get under the pad and leave deep random scratches that ruin all the previous work. Thorough cleaning is the key to a clean result.
Working edges, end grain and profiles: the secrets of craftsmanship
If flat surfaces are more or less clear, then working end grain, edges and shaped profiles is the area where true professionalism shows. These zones require special attention and care, because it is precisely here that beginners most often make mistakes that spoil the appearance of the whole product. An improperly finished edge can nullify all the effort of sanding the main plane.
The main difficulty in working with edges is preserving their geometry. The main mistake is “rounding over” the edges. When sanding a plane and reaching the edge, many people instinctively tilt the sander, which rounds off the sharp corner. To avoid this, the sander should be guided so that the centre of its pad does not extend beyond the surface being worked. For working the edges themselves it is better to use not a random-orbit sander but an orbital one with a rectangular pad, or a special sanding block wrapped in sandpaper. This gives maximum control and lets you keep a perfect right angle.
A special approach is required for working end grain (the surfaces of a cross-cut of the wood). The structure of wood at the end grain is like a bundle of straws: it has open fibres that absorb moisture and finishes (stain, oil) far more intensively than the lengthwise surfaces. If you sand the end grain with the same abrasive as the main plane, then after applying stain it will come out significantly darker, creating an unattractive contrast. To avoid this, end grain is always sanded one or two steps finer than the planes. For example, if the finishing of the plane was done with P180 grit, then the end grain should be brought to P240 or even P320. Finer sanding compacts and closes the fibres more, evening out absorption and providing a uniform tone across the whole product.
Working with shaped profiles, milled edges (moulded edges) and mouldings is predominantly the territory of hand work. Trying to work a complex profile with a power tool almost always ends in a change to its geometry. Here special profile sanding pads, abrasive sponges and simple strips of sandpaper come to the rescue. To sand an internal radius, you can wrap the sandpaper around a rod of a suitable diameter. For V-shaped grooves, fold a sheet of paper into a corner. The main thing is to move smoothly, following the curves of the profile, and not to press too hard, so as not to smooth over the sharp edges.
For working internal corners, for example in furniture drawers or frames, orbital sanders with a delta-shaped (triangular) attachment are ideal. They let you get carefully into the most hard-to-reach places. If you do not have such a tool, the work is done by hand using a block with a sharp edge. It is important to make sure you do not damage the adjacent perpendicular surface. Sometimes it is even temporarily covered with masking tape for protection.
When sanding any edges and corners it is important not to overdo the chamfering. If the design of the product calls for a sharp edge, it is only lightly “knocked off” with one or two light passes of fine sandpaper to remove the fragility. But if a rounded chamfer is needed, it is formed deliberately, using a block at a 45-degree angle or a special profile pad, ensuring the same radius along the whole length. Unsystematic movements of the hand along the edge will result in an uneven, “wavy” chamfer, which greatly cheapens the look of the product.
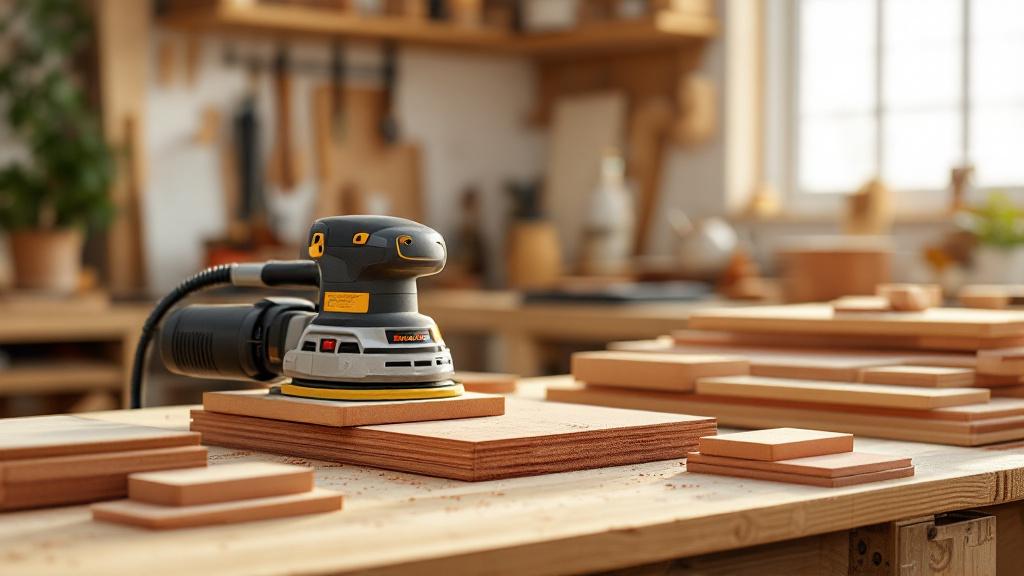
Sanding with lubrication (wet sanding): when and why?
When it comes to sanding, most people picture a dry process with clouds of wood dust. However, in the professional finishing of wooden products there is another method: wet sanding, or sanding with lubrication. This is not a universal technique but a special one, used at certain stages to achieve exceptional quality of the finish coating. Its main area of application is not the working of bare wood but the intermediate sanding of lacquers and oils.
The main task of wet sanding is achieving a perfectly smooth lacquered surface. As we have already mentioned, after the first coat of lacquer is applied, the grain rises, and there may also be small dust specks or air bubbles in the layer. For the next coat to lie perfectly, this roughness must be removed. Dry sanding at this stage can be too aggressive, clog the abrasive with sanding debris (lacquer dust) and leave small scratches. In wet sanding, water, white spirit or a special oil is used as a lubricant.
How does it work? The liquid performs several functions. First, it prevents the abrasive from clogging. Particles of removed lacquer and abrasive do not get stuck in the pores of the sandpaper but are washed away, forming a liquid suspension. This lets the abrasive work longer and more effectively. Second, the lubricant reduces friction, making the sanding process much softer and gentler. This minimises the risk of sanding the thin layer of lacquer down to the wood. Third, the liquid cools the surface, which also has a positive effect on quality.
For wet sanding, special waterproof sandpaper on a film or latex backing is used. An ordinary paper backing would instantly go soggy on contact with liquid and become useless. The grit for such work is very fine – from P400 to P2000 and even higher, depending on the degree of gloss you want to achieve. The work is done by hand, with light circular or lengthwise movements, without heavy pressure.
A classic example of its use is creating the piano-lacquer effect. After applying several coats of polyurethane or acrylic lacquer and drying them fully, the surface is wet-sanded with a progressive increase in grit, for example: P600 -> P800 -> P1200 -> P2000. Each stage removes the scratches from the previous one. After this the surface is polished with special polishing compounds to a mirror shine. Without wet sanding it is impossible to achieve such depth and clarity of gloss.
Another application is working with oil and oil-wax coatings. Some technologies involve rubbing oil into the wood while simultaneously sanding with a very fine abrasive (P400-P600). The oil acts as a lubricant, and the resulting mixture of oil, wood dust and abrasive particles fills the pores of the wood, creating an incredibly smooth, silky and protected surface. This method gives a very pleasant-to-touch and wear-resistant coating.
It is important to understand that wet sanding is never applied to clean, unfinished wood (with rare, specific exceptions). Its element is working with an already applied and dried coating. This is a fine process demanding care, which is the pinnacle of craftsmanship in finishing wooden products.
Typical mistakes in sanding and how to avoid them
The quality of sanding is determined not only by knowledge of the right techniques but also by the ability to avoid common mistakes. Even with an excellent tool, it is easy to ruin a workpiece if key rules are not followed. Let us look at the most frequent blunders that both amateurs and beginner craftsmen face.
- Sanding across the grain. This is perhaps the crudest and most common mistake. Any abrasive, even the finest, leaves scratches behind it. If they run along the wood grain, they are masked by the natural texture of the wood. But if they cross the grain, they become clearly visible, especially after applying tinting compounds. Stain accumulates in these cross-grain scratches, making them dark and ugly. The solution: Always, whether in hand or machine sanding, the main movements should be directed strictly along the grain of the wood. Using a random-orbit sander partly offsets this problem, but even with it, it is better to keep to a general lengthwise direction.
- Skipping grits. The wish to save time by jumping, for example, straight from P80 to P220 leads to a poor result. A fine abrasive is unable to remove the deep marks left by a coarse one. It only smooths their edges. As a result, under the finish the whole “history” of your sanding shows through as a network of deep scratches. The solution: Progress in sequence. The step between grits should not be more than 1.5 times (for example, 100 -> 150, not 100 -> 240). Patience at this stage will pay off handsomely.
- Excessive pressure on the tool. A common misconception is that the harder you press on the sander, the faster the work will go. In practice this has the opposite effect: the abrasive quickly clogs and overheats, the motor wears out, and hollows and waves appear on the surface from uneven stock removal. The solution: Let the tool do its job. Your task is only to guide it. The weight of the sander itself and of your hand is quite enough for effective sanding.
- “Rounding over” edges and corners. When working the edges of a workpiece, the pad of the sander often slips and tilts, rounding off the sharp corners. This disturbs the geometry of the product and gives it a sloppy, “amateurish” look. The solution: Control the position of the tool. Try to keep at least 2/3 of the pad on the surface being worked at all times. For the edges themselves, use a sanding block or an orbital sander, which give more control.
- Neglecting dust removal. Wood dust left on the surface after changing the abrasive acts as an abrasive itself. Coarse particles from rough sandpaper, getting under a fine pad, will leave random deep scratches that ruin all the work. The solution: After each sanding stage, thoroughly clean the surface with a vacuum, then wipe it with a dry clean cloth or a special tack cloth. Also regularly clean the tool’s pad itself.
By avoiding these simple but critically important mistakes, you can significantly improve the quality of your work and get closer to a professional level of woodworking.
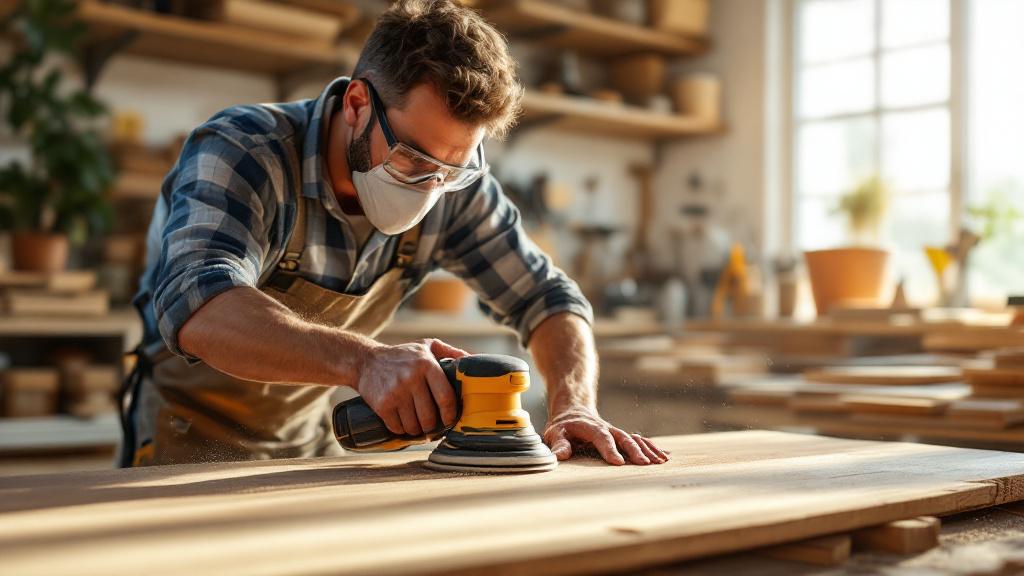
Dust is the main enemy of quality: organising dust extraction
A huge amount of fine wood dust is generated during sanding. Many people see it merely as an annoying side effect that requires clean-up once the work is done. However, in professional woodworking, dust is treated as the main enemy of quality and health, and fighting it is an integral part of the technological process. An effective dust extraction system is not a luxury but a production necessity.
First, dust directly affects the quality of sanding. Settling between the abrasive grain and the surface being worked, it creates a kind of buffer that reduces the cutting ability of the sandpaper. This makes you press harder on the tool, which, as we already know, leads to defects. In addition, dust quickly clogs (loads) the abrasive itself, making it unusable. You have to change the expensive consumables more often, which increases the cost of the product.
Second, dust hinders control. A layer of dust on the workpiece prevents you from adequately assessing the result of your work. You cannot see whether the scratches from the previous stage have been removed or whether new defects have appeared. You have to keep stopping to blow or brush off the dust, which breaks the rhythm of the work and reduces productivity. Quality sanding is possible only when you constantly see the clean surface you are working.
Third, and this is the most important thing, wood dust is extremely harmful to health. The finest dust particles, especially from species such as oak and beech, or from MDF, are strong allergens and carcinogens. When inhaled, they settle deep in the lungs, causing chronic respiratory diseases and asthma and increasing the risk of cancer. That is why working without effective respiratory protection and a dust extraction system is a direct and unjustified risk to the craftsman’s health.
So what solutions to this problem exist?
- Using a tool with a built-in dust extraction system. Most modern sanders are equipped with a perforated pad and a port for connecting a vacuum. You must use abrasive discs with matching holes so that the dust is effectively drawn away directly from the sanding zone.
- Connecting a shop vacuum. A household vacuum is not designed to collect fine wood dust. Its filters clog quickly and the motor overheats. What you need is exactly a construction or industrial vacuum with a filter-cleaning system and a large container. Connecting the sander directly to such a vacuum is the most effective way to fight dust.
- A central extraction system. In a professional workshop, stationary extraction units (dust collectors) are used; they create suction and draw dust and shavings away from all machines through a system of ducts.
- Personal protective equipment (PPE). Even with a good dust extraction system, using a respirator with an appropriate protection class (no lower than FFP2) is mandatory. Safety glasses are also necessary to keep dust out of your eyes.
Organising a clean, dust-free workplace is an investment not only in the quality of the final product but also in your own health and productivity. A clean surface, clean abrasive and clean air are the three pillars on which professional sanding rests.
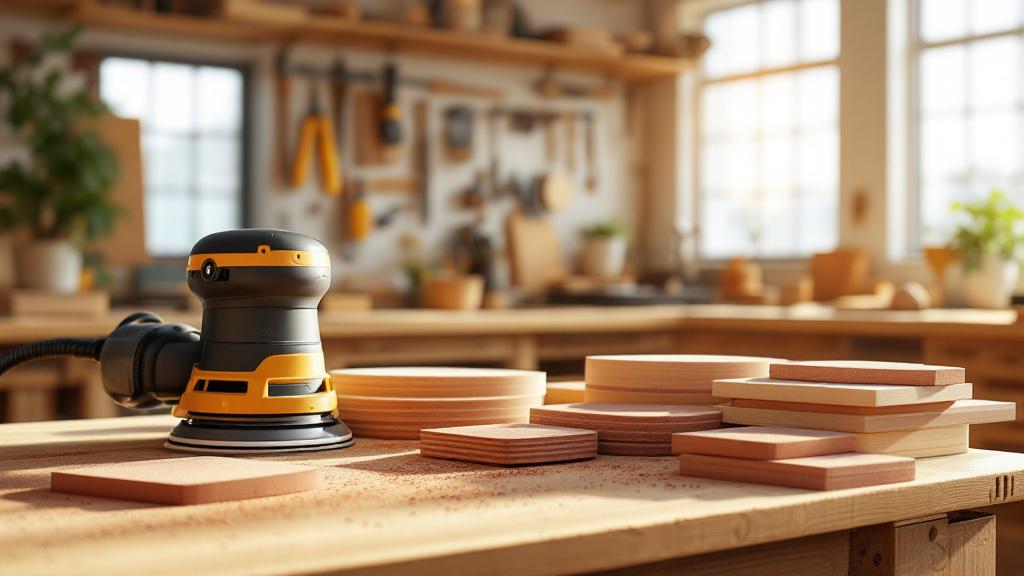
Final surface preparation before applying the coating
So, the long road has been travelled: from the coarse abrasive to the finest. The surface looks and feels perfectly smooth. It seems you can take the brush and apply the lacquer. But it is precisely here that the last important stage hides, neglect of which can nullify all previous efforts. Final preparation is a set of measures that ensure the finish coating goes onto the wood flawlessly.
The first step is total dust removal. Even the best dust extraction system does not remove 100% of the dust. The finest particles, invisible to the eye, remain on the surface and in the pores of the wood. If you apply the coating right over them, the result will be poor: the surface will come out rough (“dirty”), and the adhesion of the lacquer or oil to the wood will be compromised. First you need to go carefully over the whole surface with a dusting brush, then with a shop vacuum with a brush attachment.
After the vacuum, finer methods come into play. You can wipe the surface with a cloth lightly moistened with white spirit or another suitable solvent. It will not only collect the remaining dust but also degrease the surface, which is especially relevant for resinous species of wood. After wiping, let the surface dry completely. An alternative and very effective method is using a tack (antistatic) cloth. This is a special fabric impregnated with a non-drying tacky compound that perfectly collects the finest dust specks without leaving marks.
The second step is a critical visual inspection. Now that the surface is absolutely clean, you must carry out its final inspection. The best way to reveal the slightest defects is to use raking light. Place a bright lamp or torch to the side of the part so that the light skims across the surface at a low angle. Such lighting instantly reveals everything that is invisible under ordinary light: missed scratches, “swirl marks” from the random-orbit sander, small dents. If defects are found, do not be lazy. It is better to go back a step and locally rework that area than to look at a defective product later.
The third step, which we have already mentioned but which is worth repeating, is controlled raising of the grain. If you plan to use a water-based finish and did not do the preliminary grain-raising procedure, now is the last chance to fix it. A light dampening, drying and final sanding with the finest abrasive will save you from disappointment when, after the first coat of water-based lacquer, the perfectly smooth surface suddenly comes to resemble sandpaper.
And the last touch is sealing the end grain. If you plan to tint the product and evening out the absorption of the end grain through finer sanding seems insufficient, you can resort to a trick. Before applying the stain, the end grain can be treated with a special primer compound (conditioner) or a very diluted coat of the same lacquer that will cover the product. This will partly close the pores and prevent excessive absorption of pigment, ensuring an even colour.
Only after all these procedures have been carried out can you confidently say: “The surface is ready for finishing.” It is this methodical and meticulous approach that distinguishes the work of a professional, for whom there are no trifles, only a flawless end result.